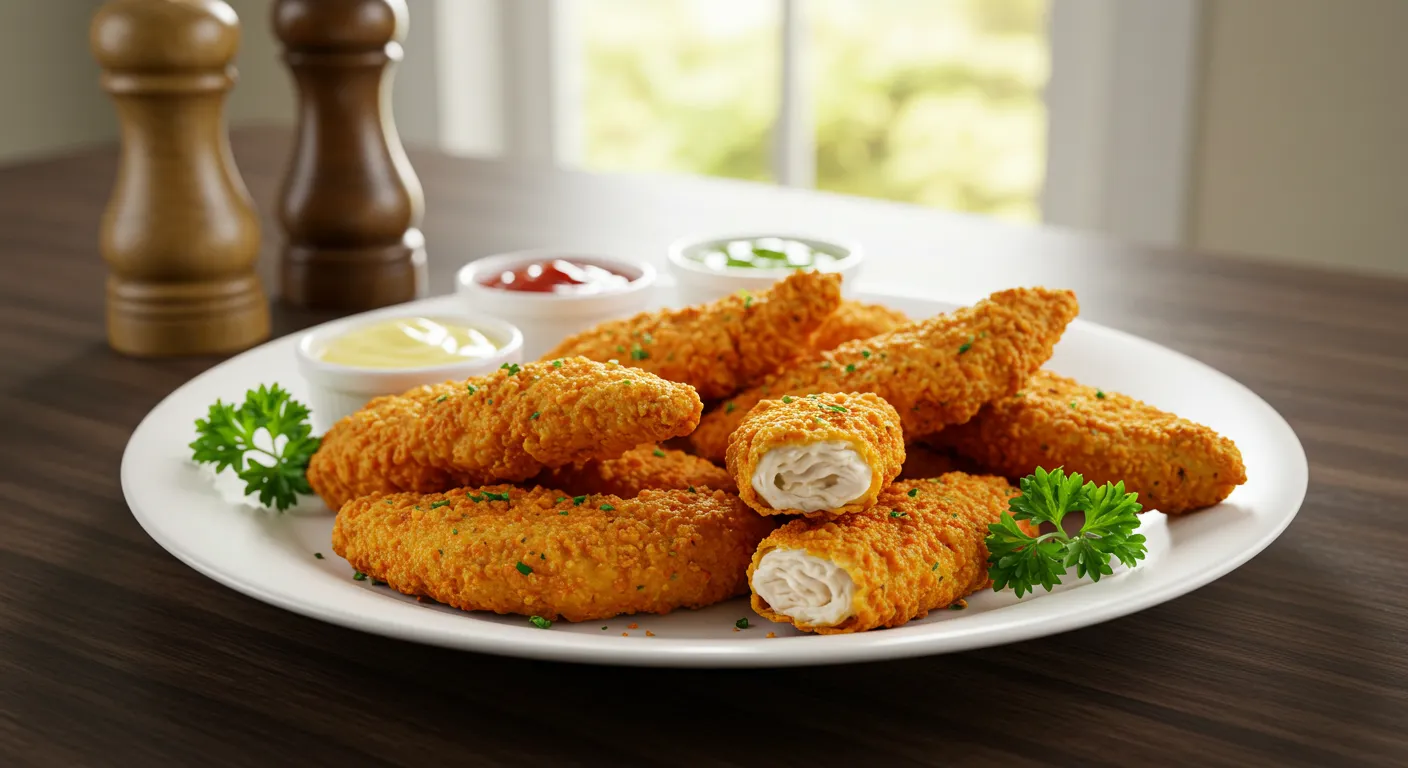
Quick & Easy Crispy Chicken Strips Recipe with Secret Sauce

There’s something irresistible about biting into a perfectly cooked crispy chicken strip — that satisfying crunch giving way to juicy, tender meat inside. While fast-food restaurants have made these a popular menu item, nothing compares to homemade crispy chicken strips recipe that you can prepare in your own kitchen. This recipe delivers restaurant-quality chicken strips with a truly special dipping sauce that will have your family and friends begging for more.
Whether you’re preparing a quick weeknight dinner, an appetizer for game day, or a crowd-pleasing option for picky eaters, this fried chicken strips recipe is versatile, straightforward, and absolutely delicious. The best part? You don’t need any special equipment or hard-to-find ingredients to achieve that perfect golden crust and mouthwatering flavor.
Why This Crispy Chicken Strips Recipe Works
Before diving into the specifics, let’s understand what makes this particular crispy chicken strips recipe stand out from the rest:
Perfect Texture Combination
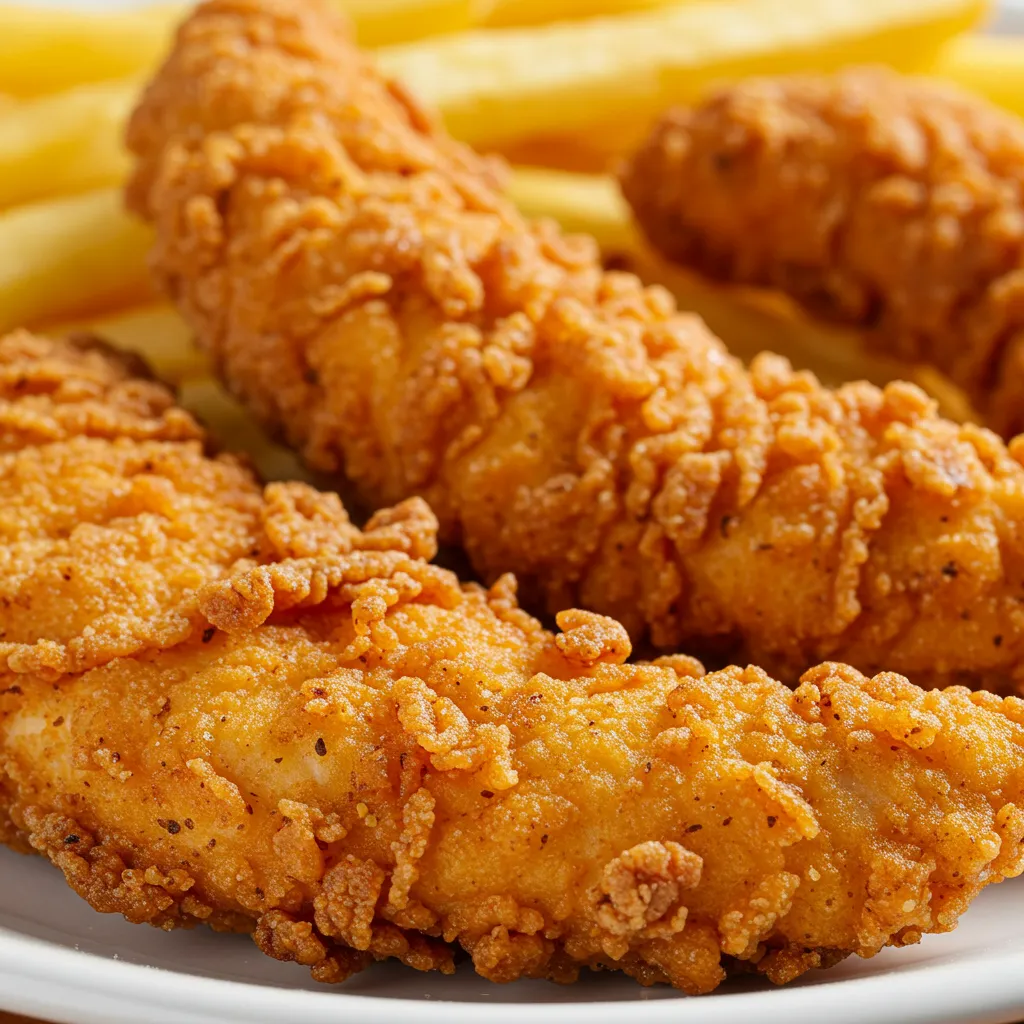
The double-dredging technique ensures a thick, crunchy exterior while keeping the chicken inside perfectly moist. This method creates that signature crispy shell that seals in all the natural juices of the chicken.
Flavor-Packed Coating
Unlike bland versions you might find elsewhere, this fried chicken tenders recipe incorporates seasonings directly into the breading mixture, infusing each bite with delicious flavor. The spice blend complements the chicken without overpowering it.
Game-Changing Secret Sauce
The accompanying sauce isn’t an afterthought—it’s been carefully crafted to enhance the crispy chicken strips with the perfect balance of tangy, sweet, and savory notes that elevate the entire dish.
Foolproof Technique
Even if you’re new to cooking, the step-by-step instructions make it nearly impossible to mess up. The detailed temperature guidelines ensure perfectly cooked chicken every time.
Table of Contents
Quick Recipe Card

Crispy Chicken Strips Recipe
Ingredients
- For the Crispy Chicken Strips:
- 2 pounds boneless skinless chicken breasts
- 1½ cups all-purpose flour
- 1 tablespoon garlic powder
- 1 tablespoon onion powder
- 2 teaspoons paprika
- 1 teaspoon cayenne pepper adjust according to heat preference
- 2 teaspoons salt
- 1 teaspoon black pepper
- 3 large eggs
- ¼ cup milk
- 2 cups panko breadcrumbs
- Vegetable or canola oil for frying
- For the Secret Sauce:
- ½ cup mayonnaise
- 2 tablespoons ketchup
- 1 tablespoon honey
- 1 tablespoon Dijon mustard
- 1 teaspoon minced garlic
- ½ teaspoon smoked paprika
- ¼ teaspoon cayenne pepper optional
- Salt and pepper to taste
- 1 teaspoon fresh lemon juice
Method
- Preparing the Chicken

- Trim and cut the chicken: Start by trimming any excess fat from the chicken breasts. Place them on a cutting board and slice them into even strips, approximately 1 inch wide and 4-5 inches long. Try to keep them uniform in size to ensure even cooking.
- Pat dry: Using paper towels, thoroughly pat the chicken strips dry. This is a crucial step that many people skip, but removing excess moisture helps the coating adhere better and results in crispier chicken.
- Season the chicken: Lightly season the raw chicken strips with a pinch of salt and pepper before beginning the coating process. This ensures the meat itself has flavor, not just the exterior.
- Creating the Coating

- Set up your dredging station: Arrange three shallow dishes in a row. In the first dish, combine the flour, garlic powder, onion powder, paprika, cayenne pepper, salt, and black pepper. Mix well to distribute the seasonings evenly.
- Prepare the egg wash: In the second dish, whisk together the eggs and milk until well combined.
- Ready the breadcrumbs: Pour the panko breadcrumbs into the third dish. You can add an extra sprinkle of paprika or garlic powder to the breadcrumbs for additional flavor if desired.
- Coating Process

- First dredge: Take a chicken strip and coat it completely in the seasoned flour mixture. Shake off any excess.
- Egg wash: Dip the floured chicken strip into the egg mixture, ensuring it’s fully coated.
- Second dredge: Transfer the chicken to the panko breadcrumbs and press firmly to adhere the breadcrumbs to all sides. For extra crispiness, you can repeat the egg and breadcrumb steps for a double coating.
- Rest the coated strips: Place the coated chicken strips on a wire rack or plate and let them rest for at least 10 minutes. This resting period helps the coating adhere better and results in a crunchier finished product.
- Frying the Chicken Strips

- Heat the oil: In a large skillet or heavy-bottomed pan, add enough oil to reach about ½ inch depth. Heat the oil over medium-high heat until it reaches approximately 350°F (175°C). If you don’t have a thermometer, you can test by sprinkling a few breadcrumbs into the oil – if they sizzle immediately, the oil is ready.
- Fry in batches: Carefully place a few chicken strips into the hot oil, being careful not to overcrowd the pan. Overcrowding will lower the oil temperature and result in soggy rather than crispy chicken.
- Cook thoroughly: Fry for about 3-4 minutes per side, until the coating is golden brown and the internal temperature reaches 165°F (74°C). The cooking time may vary depending on the thickness of your chicken strips.
- Drain excess oil: Once cooked, transfer the crispy chicken strips to a paper towel-lined plate to absorb excess oil.
- Keep warm: If cooking in multiple batches, you can keep the finished strips warm in an oven set to 200°F (95°C) while you complete the rest.
- Preparing the Secret Sauce

- Mix the sauce ingredients: In a small bowl, combine the mayonnaise, ketchup, honey, Dijon mustard, minced garlic, smoked paprika, cayenne pepper (if using), salt, pepper, and lemon juice.
- Whisk thoroughly: Whisk all ingredients until perfectly smooth and well combined.
- Adjust to taste: Taste the sauce and adjust seasonings if necessary. For a spicier sauce, add more cayenne; for a sweeter version, add a touch more honey.
- Chill before serving: For the best flavor, refrigerate the sauce for at least 15 minutes before serving with your crispy chicken strips.
Notes
- Use a meat thermometer to ensure the chicken reaches an internal temperature of 165°F (74°C).
- For a healthier version, you can bake the chicken strips at 400°F (200°C) for 15-20 minutes instead of frying.
- The secret sauce can be made ahead and stored in the refrigerator for up to 1 week.
Expert Tips for Perfect Crispy Chicken Strips

Chicken Selection and Preparation
- Try to use chicken breasts that are similar in size and thickness for even cooking.
- For extra tender chicken, you can brine the strips in a solution of 2 cups water and 2 tablespoons salt for 30 minutes before patting dry and proceeding with the recipe.
- Cutting the chicken slightly against the grain results in more tender strips.
Coating Techniques
- Keep one hand for dry ingredients and one for wet to avoid creating a sticky mess on your fingers.
- Press the breadcrumbs firmly onto the chicken to ensure they adhere well.
- For even crunchier chicken strips, you can crush cornflakes and mix them with the panko breadcrumbs.
- Adding a tablespoon of cornstarch to your flour mixture can help create an even crispier texture.
Frying Advice
- Maintaining the correct oil temperature is critical. Too hot, and the coating will burn before the chicken cooks; too cool, and the fried chicken tenders will absorb excess oil and become greasy.
- A heavy-bottomed pan or cast-iron skillet provides the most even heat distribution for frying.
- If the chicken is browning too quickly, lower the heat slightly to ensure the interior cooks properly.
- Adding a small piece of bread to the oil between batches can help absorb burnt bits and keep the oil clean.
Storage and Reheating
- Leftover crispy chicken strips can be stored in an airtight container in the refrigerator for up to 3 days.
- For the best results when reheating, place them on a wire rack in a preheated 375°F (190°C) oven for about 10 minutes until heated through and crispy again.
- The secret sauce can be stored in the refrigerator for up to 5 days in an airtight container.
Variations of This Crispy Chicken Strips Recipe
Spicy Buffalo Chicken Strips
Add 2 tablespoons of your favorite hot sauce to the egg mixture and serve the finished strips with blue cheese dressing instead of the secret sauce.
Parmesan Herb Chicken Strips
Mix ½ cup grated Parmesan cheese and 1 tablespoon Italian herb seasoning into the breadcrumb mixture for an Italian-inspired variation.
Gluten-Free Crispy Chicken Strips
Substitute the all-purpose flour with gluten-free flour and use gluten-free panko breadcrumbs. The rest of the crispy chicken strips recipe remains the same.
Oven-Baked Healthy Alternative
For a lighter version, place the coated chicken strips on a wire rack set over a baking sheet. Spray both sides of the strips with cooking spray and bake at 425°F (220°C) for about 20 minutes, flipping halfway through, until golden and cooked through.
Air Fryer Crispy Chicken Strips
Cook the coated strips in an air fryer at 400°F (200°C) for approximately 12 minutes, flipping halfway through. This method uses significantly less oil while still achieving a crispy exterior.
Serving Suggestions

This fried chicken strips recipe is incredibly versatile when it comes to serving options. Here are some delicious ways to enjoy your homemade crispy chicken strips:
Classic Combinations
- Serve with a side of french fries and coleslaw for a fast-food style meal at home.
- Add to a fresh garden salad for a protein-packed lunch.
- Wrap in a flour tortilla with lettuce, tomato, and the secret sauce for a quick chicken wrap.
Kid-Friendly Options
- Create a fun “dipping station” with various sauces including the secret sauce, honey mustard, BBQ sauce, and ranch dressing.
- Serve alongside mac and cheese or mashed potatoes for a comforting kid-approved dinner.
- Cut the chicken into smaller, bite-sized pieces before coating and cooking to make “chicken nuggets” for younger children.
Elevated Presentations
- Place on a platter with garnishes of fresh herbs and lemon wedges for a more sophisticated appetizer.
- Serve on top of waffles with a drizzle of maple syrup for a delicious chicken and waffles variation.
- Create a chicken strip slider by placing a piece on a small bun with the secret sauce and a slice of pickle.
Troubleshooting Common Issues
Coating Falls Off During Cooking
- Ensure you’ve patted the chicken completely dry before starting the coating process.
- Let the coated chicken rest for at least 10 minutes before frying to help the coating adhere.
- Make sure your oil is at the correct temperature before adding the chicken.
Chicken Is Burnt on Outside But Raw Inside
- Your oil temperature may be too high. Use a thermometer to maintain around 350°F (175°C).
- Cut your chicken strips to a more uniform and slightly thinner size to ensure even cooking.
- If the outside is browning too quickly, lower the heat and continue cooking until the internal temperature reaches 165°F (74°C).
Breading Is Soggy Instead of Crispy
- Don’t overcrowd the pan, as this lowers the oil temperature and creates steam.
- Make sure to drain the chicken strips properly on paper towels after cooking.
- Serve immediately for maximum crispiness, or keep warm in a single layer on a wire rack in the oven.
Nutritional Information and Dietary Considerations
While this crispy chicken strips recipe is definitely a treat, here’s some nutritional information to keep in mind:
- Calories: Approximately 300-350 calories per serving (3-4 strips)
- Protein: About 25-30g per serving, making it a good protein source
- Carbohydrates: Roughly 20-25g per serving from the breading
- Fat: Approximately 15-20g per serving, depending on how much oil is absorbed
For those with dietary restrictions:
- Gluten-Free: Use gluten-free flour and breadcrumbs as mentioned in the variations section.
- Dairy-Free: This recipe contains minimal dairy, only in the egg wash. You can substitute the milk with a dairy-free alternative.
- Lower-Carb: For a lower-carb version, use crushed pork rinds instead of breadcrumbs and almond flour instead of all-purpose flour.
Why Make Homemade Crispy Chicken Strips?
There are countless reasons to make this fried chicken tenders recipe at home rather than buying pre-made or fast-food versions:
Quality Control
When you make your own crispy chicken strips recipe, you control exactly what goes into them. No preservatives, artificial flavors, or mystery ingredients—just real, wholesome components you can feel good about eating and serving to your family.
Cost-Effective
Making fried chicken tenders at home is significantly cheaper than buying them pre-made or from restaurants, especially when feeding a family. A package of chicken breasts can make many servings of this crispy chicken strips recipe at a fraction of the cost.
Customization
The ability to adjust spice levels, coating thickness, and dipping sauces means everyone can enjoy their fried chicken tenders exactly the way they like them. This level of customization simply isn’t possible with store-bought options.
Family Activity
Getting children involved in the dredging process (with supervision) can be a fun cooking activity that teaches basic culinary skills and food safety.
Frequently Asked Questions
Can I make these crispy chicken strips ahead of time?
Yes, you can prepare and coat the fried chicken tenders up to a day in advance. Store the coated, uncooked strips in a single layer on a baking sheet in the refrigerator, covered loosely with plastic wrap. Cook as directed when ready to serve.
How do I know when the chicken is fully cooked?
The safest method is to use a meat thermometer to check that the internal temperature has reached 165°F (74°C). If you don’t have a thermometer, cut into the thickest part of a strip—the meat should be opaque white with no pink showing.
What’s the best oil for frying chicken strips?
Vegetable oil, canola oil, or peanut oil all work well due to their high smoke points. Avoid olive oil, which can impart a strong flavor and has a lower smoke point.
Can I freeze these crispy chicken strips?
Yes! After cooking, allow them to cool completely, then place in a single layer on a baking sheet and freeze until solid. Transfer to a freezer bag and store for up to 3 months. Reheat in a 375°F (190°C) oven until hot and crispy.
What can I use instead of panko breadcrumbs?
Regular breadcrumbs will work, though the texture won’t be quite as crispy. Crushed cornflakes, crushed crackers, or even crushed potato chips make good alternatives that still provide a crunchy coating.
Is there a way to make this recipe without eggs?
Yes, you can replace the egg wash with buttermilk or a mixture of 1 tablespoon cornstarch whisked into ¼ cup water or plant-based milk.
Conclusion
This crispy chicken strips recipe proves that you don’t need fancy equipment or professional training to create restaurant-quality chicken at home. With just a handful of common ingredients and some straightforward techniques, you can make fried chicken tenders that are juicier, crunchier, and more flavorful than anything you’d get from a fast-food chain or frozen food aisle.
The secret sauce takes these crispy chicken strips to another level entirely, providing the perfect creamy, tangy complement to the savory, crunchy chicken. It’s worth making a double batch of the sauce because it disappears quickly and works wonderfully as a dip for other foods or spread for sandwiches.
Whether you’re cooking for picky children, preparing game day snacks, or simply treating yourself to some comfort food, these fried chicken tenders is sure to become a staple in your cooking repertoire. The perfect balance of simplicity and flavor makes it accessible to cooks of all skill levels, while the results are impressive enough to serve to guests.
So the next time you’re craving that perfect combination of crispy exterior and juicy interior that only properly prepared chicken strips can provide, skip the drive-thru and reach for this recipe instead. Your taste buds—and your wallet—will thank you.
